-
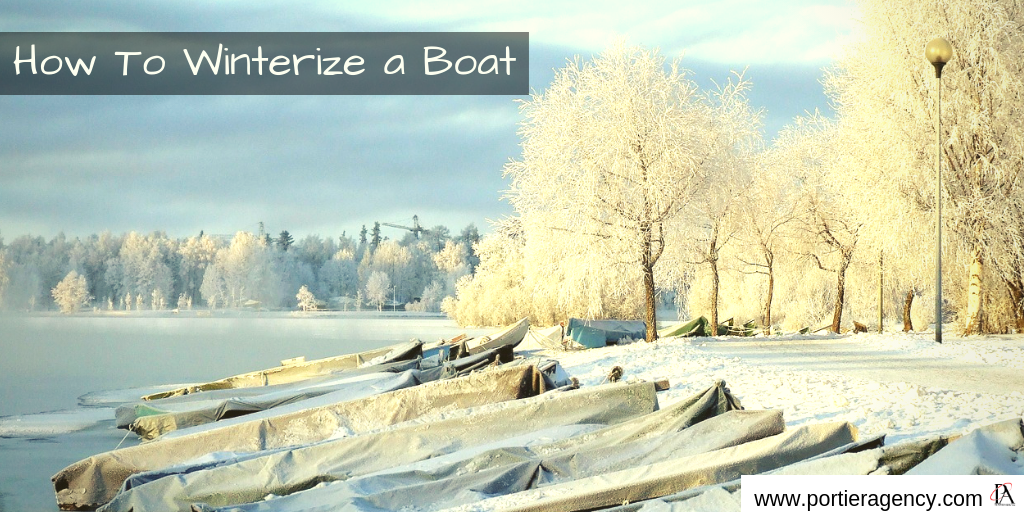
- If you live in a region that enjoys all four seasons, you’ll likely need a checklist for winterizing your boat. You may also be wondering the steps to winterize your outboard motor. Our experts at boats.com are here to help with our all-encompassing winterization guide.
-
- Start with the basics: winter boat storage, boat covers, fuel treatments, engine winterization (for both outboards and inboards), battery care, and winterizing your water systems and sanitation.
It’s time to winterize your boat? Shorter days, cooler temperatures, and colorful changes in the trees are all signs that winter is coming and the end of the boating season is near—yes, we know it’s sort of depressing… but at least we can help you winterize your boat in the best way possible. Ready to get started?
When it comes to winterization of your boat, here’s the main factors to consider:
-
- Whether or not to pull your boat
-
- How to best cover your boat
-
- Winterizing plumbing, air conditioning, and sanitation systems
-
- How to winterize an outboard engine
-
- How to winterize an inboard or stern-drive
-
- Taking care of fuel and fuel systems
-
- Taking care of batteries
-
- Other minor issues that come up when you winterize a boat
When it’s time to winterize your boat, doing the process properly will ensure a safe, worry-free winter, as well as an enjoyable, trouble-free boating season next year.
Winterization procedures protect boat systems and gear from freeze damage. Winterizing also guards items such as batteries, inboard and outboard engines, and lower units and sterndrives from damage and wear that lying idle can cause. Luckily for you, a concentrated weekend effort is all that’s needed to ensure your boat is protected during the brutal winter months. Though just as with anything else on your boat, if you run into a system or procedure that’s beyond your skill set, ask an expert.
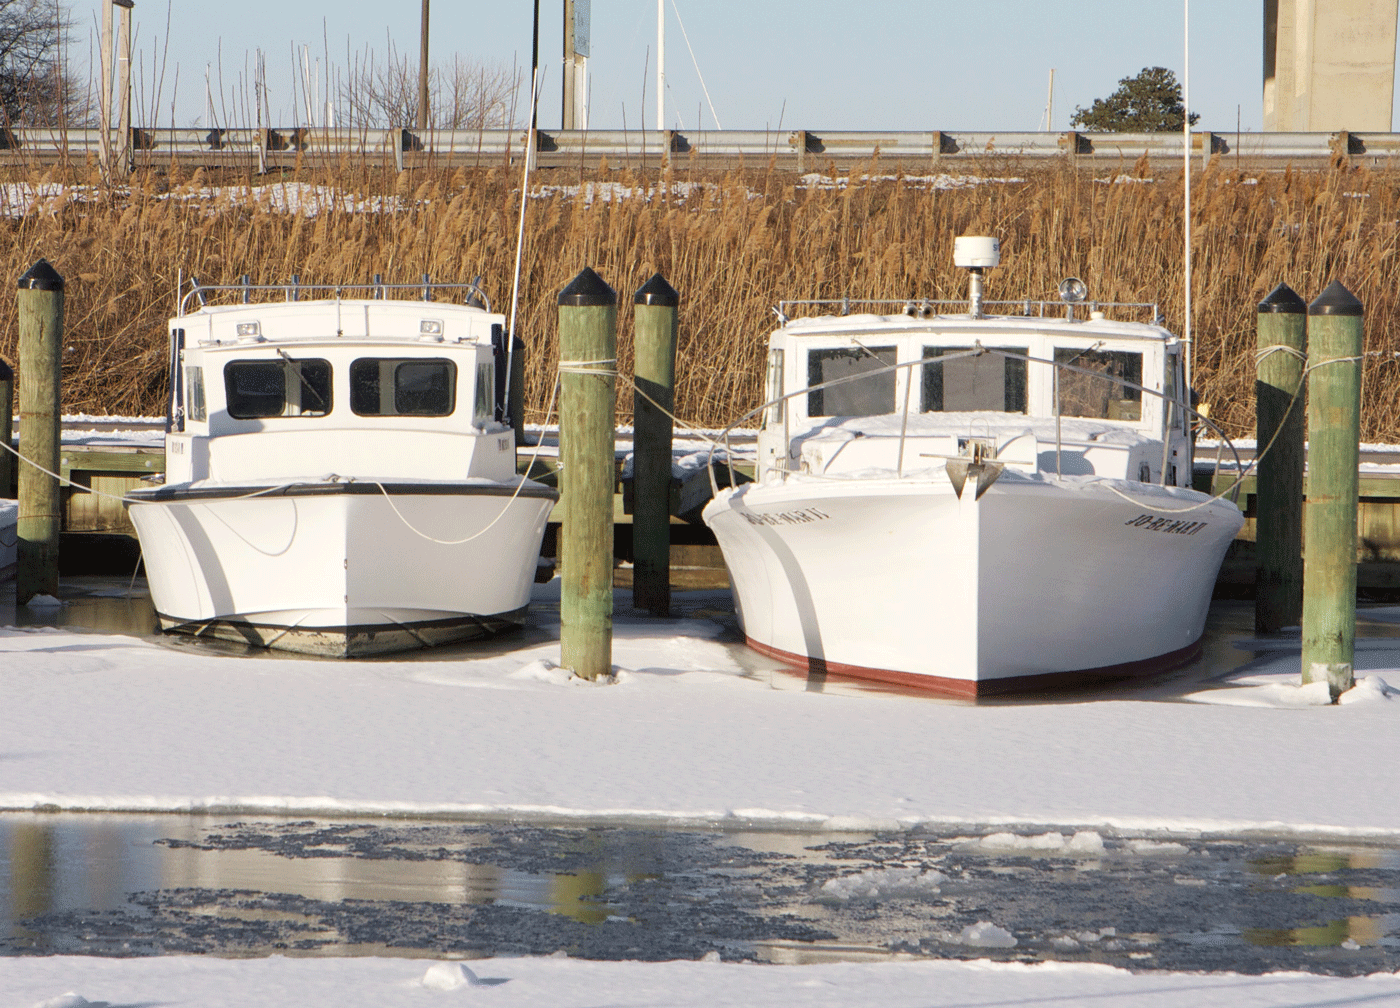
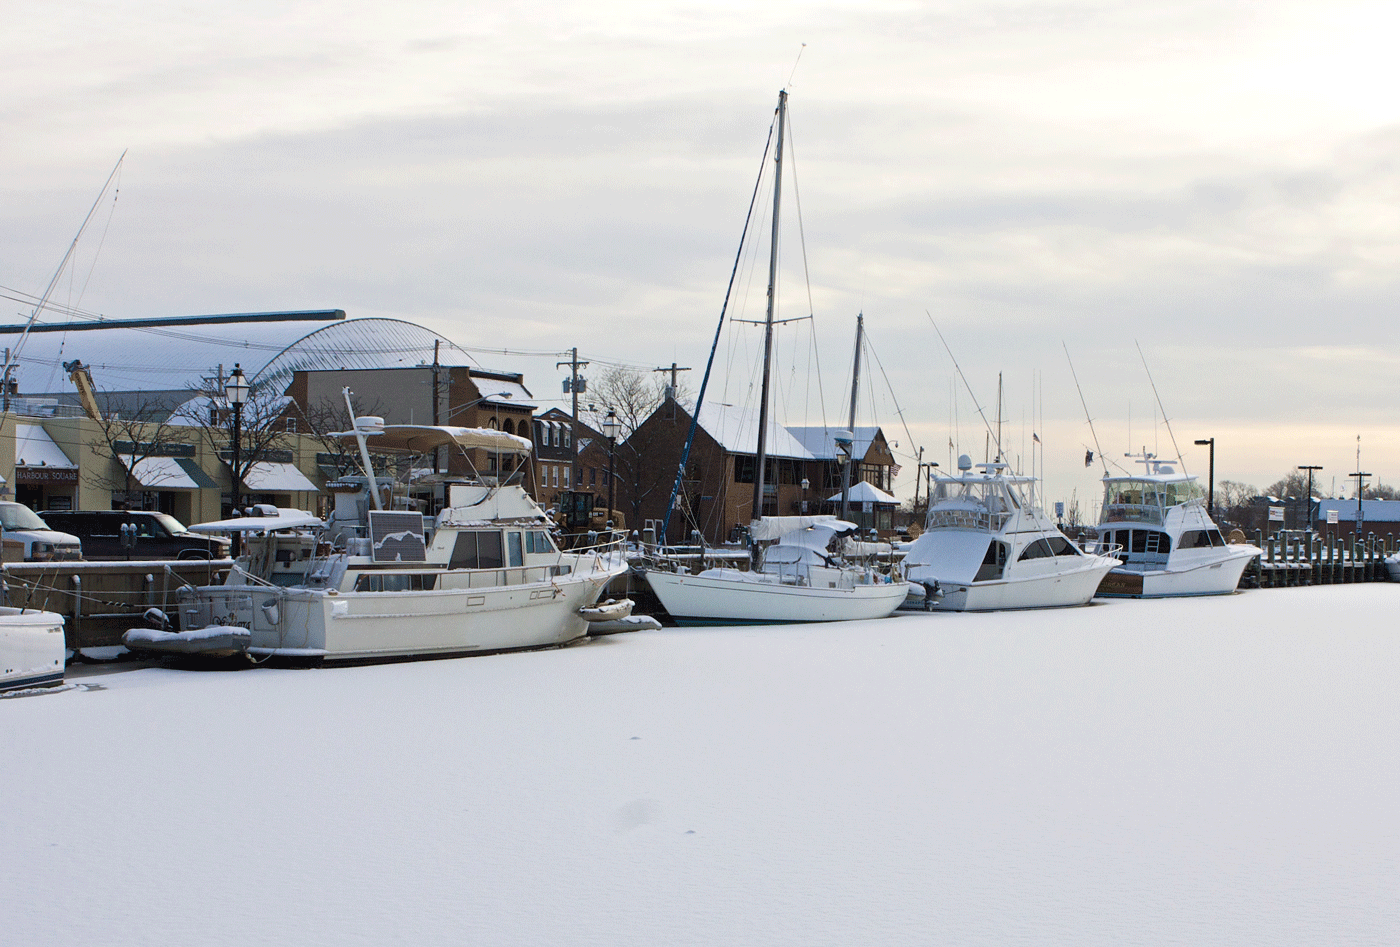
Whether you store your boat in or out of the water this winter is entirely up to you, but boats stored in the water over the winter require special care.
Should you take your boat out of the water for winter?
The first thing you’ll want to do is decide whether to store your boat in or out of the water over the winter. For trailer boaters the choice is easy. But for those with the fortunate problem of owning a larger boat, the decision of whether to haul out or tough it out at the dock might be a tough one, depending on your location. Each method has costs associated with it, which will vary depending on the type and size of your boat, as well as the boatyard you deal with.
Storing a boat in the water over the winter presents some unique challenges, including:
-
- Preventing ice formation around the boat
-
- Keeping corrosion at bay
-
- Maintaining a heat source inside the boat, when appropriate
-
- Winterizing freshwater systems and holding tanks
You can learn more about dealing with each of these issues by reading In the Water Winter Boat Storage. But no matter how much preparation you do, note that storing a boat in the water still requires regular visits to check on the systems and ensure nothing is awry.
What’s the worst part about storing a boat in the water over winter? Get it wrong and there’s a very real possibility that you could find your boat at the bottom of the creek instead of floating happily in its slip. That’s why so many owners choose on-land storage for the off-season.
The Best Way to Cover Your Boat
In or out of the water, you’ll need to decide how to cover your boat. The idea is to protect from snow, ice, and UV rays all winter long. If you do the job on your own you have three basic cover types to choose from.
-
- Plastic Tarps – These are the least expensive option. But they only last a season or two, they tend to flap in the wind, and they rarely fit properly.
-
- Canvas Tarps – They’re more expensive than plastic but since they’re heavier, they flap around less in the breeze. They also last a lot longer, and may be good for four or even five seasons. But the additional weight means you’ll need to construct a solid frame to support it.
-
- Fitted Covers – For many popular models, you can find pre-fitted covers that are an exact match for the boat. These are even more expensive, but as you might expect, they also fit the best and tend to last the longest.
Our article How to Cover a Boat has a more detailed explanation of some of the other plusses and minuses of each DIY option—as well as some advice on general boat covering issues.
If you don’t want to cover the boat yourself, there are two options that involve hiring professionals to help. The first is to find a canvas company that will design and build a custom-fitted cover. This is an expensive option, but it will also provide the best protection for your boat and will be reusable year after year.
The other professional option is, of course, to hire a shrink-wrap pro. Shrink wrap is a polyethylene with UV inhibitors, and is formulated to shrink when heated, which creates a much tighter seal than anything you or I could make with a tarp and ropes. That seal not only keeps the weather out of your boat, it also prevents the stretching and tearing that tarps commonly display after a few months in the elements.
If you’re having a tough time deciding whether to handle the covering job on your own or call in a pro, check out Should You Shrink Wrap Your Boat?. It’ll make the pros and cons of each method clear and help you make the best call.
Winterizing Water Systems
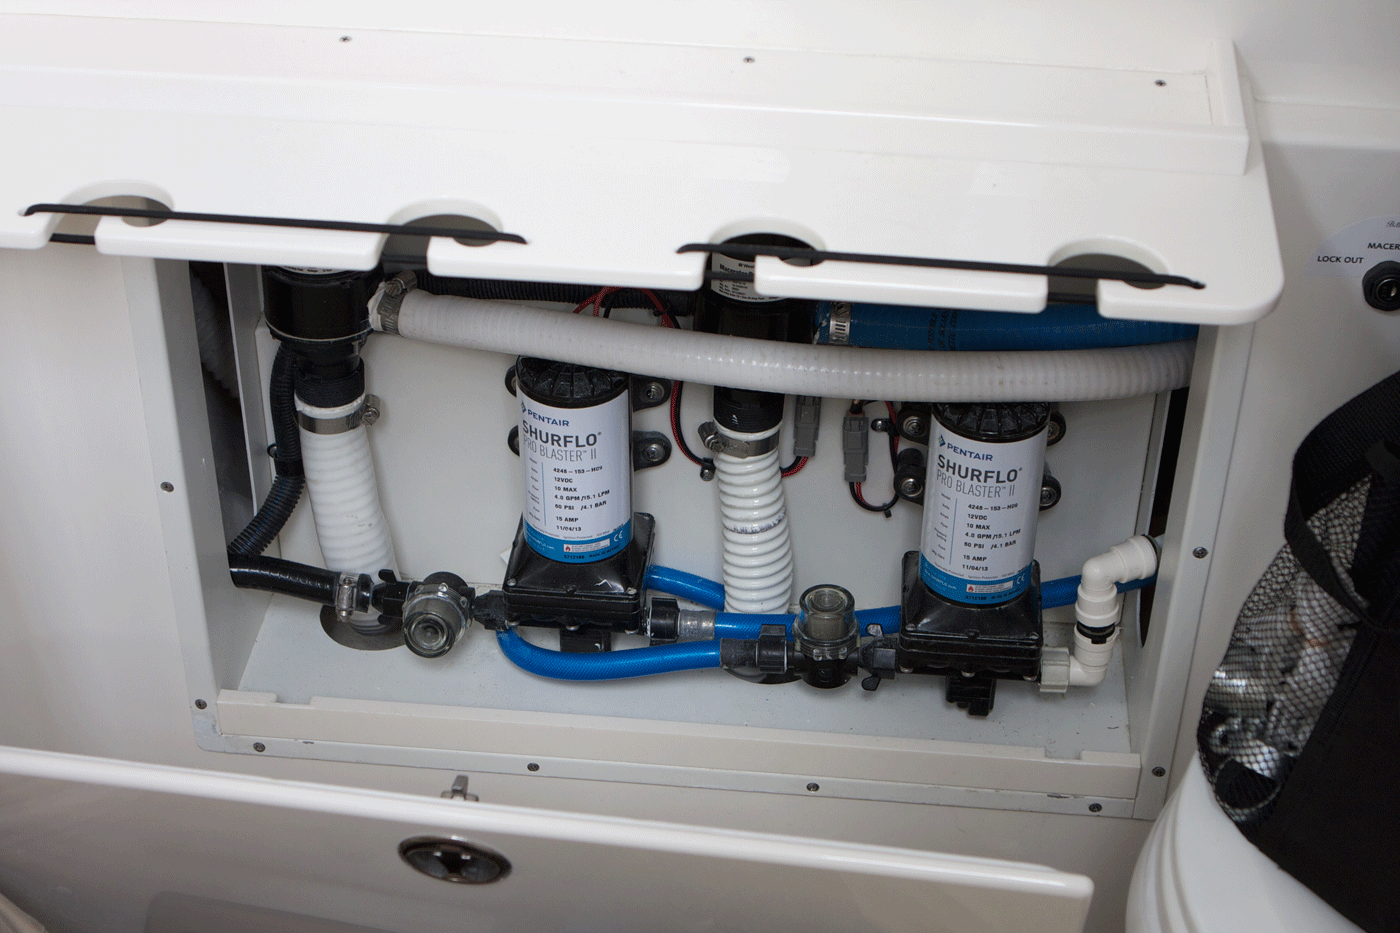
Pressure-water plumbing is just one system that must have potable antifreeze run through it, to prevent freeze damage.
If you’ve got a faucet, showerhead, washdown nozzle, or any other fixtures onboard that provides water—raw or fresh—the system will need to be prepped with antifreeze. Otherwise pumps, hoses, and fixtures can break because of expanding ice inside.
Before you start, make sure to get the proper antifreeze. Look in your local marine supply or RV shop for what many folks call “the pink stuff.” You’ll likely find cases of it stacked to the ceiling at this time of year. This is the antifreeze that’s safe for drinking water systems. Antifreeze made with propylene glycol is what you’re looking for. Do not use automotive or engine antifreeze made with ethylene glycol, which is highly toxic.
For freshwater systems, first drain as much water as possible from the tank and lines, by opening one or more fixtures. Then remove the primary feed hose from the freshwater tank and place it into a five-gallon bucket filled with antifreeze. All that’s left to do is open each and every single fixture (hot and cold) until antifreeze comes flowing out. When you’re finished, don’t forget to reattach your freshwater tank feed hose. Hint: lots of folks forget about freshwater showers found near the swim platform on many boats.
For raw-water systems such as wash-downs and livewells, remove the raw-water hose for each pump from its closed supply seacock and submerge the hose end in a jug or five-gallon bucket full of antifreeze. Run each pump until until pink antifreeze comes flowing out of each fixture.
Sanitation and Air Conditioning Systems
Pay special attention to your head compartment and its sanitation system components at winterization time.
Whether you’ve got a single portable MSD aboard or multiple electric-flush heads attached to a big holding tank, marine sanitation systems need to be carefully winterized to survive cold temperatures. An important first step is running lots of fresh water through all of your heads to rid the system of smelly residue. Next, empty your holding tank of its contents at a pumpout facility, flushing it with fresh water once or twice before hanging up the pumpout hose.
Using the same propylene glycol antifreeze you purchased for your freshwater system, remove the raw-water inlet hose for each head from its seacock (be sure to close the seacock first) and then submerge it in a jug or five-gallon bucket full of antifreeze. Pump each head until you are sure the antifreeze has run through it and all of its lines, all the way to the holding tank.
If you have a LectraSan or other waste treatment device, there may be some special steps you need to take. In this case, winterize it according to the manufacturer’s recommendations.
Make sure you use propylene glycol antifreeze when winterizing your boat’s systems. Antifreeze made with ethylene glycol is highly toxic.
Air-conditioning is another system that may come with special winterizing recommendations from the manufacturer. Even when they don’t, there are some different trains of thought regarding the best way to winterize an air conditioning system.
Our systems expert Ed Sherman, a noted authority in the field, prefers pumping potable antifreeze though the entire system. Simply close the air-conditioning intake seacock, remove the supply hose, dip it in a bucket of antifreeze, and then run the system until you see pink coming out of the overboard discharge. Make sure you reattach the hose when you’re done with the procedure. Wash, rinse, and repeat if your boat has more than one air conditioning unit.
How to Winterize an Outboard Engine
-
- In any outboard—two-stroke or four—the most important task you should perform for winter layup is changing the lower-unit oil. Otherwise, if there’s any residual water suspended in the gear lube, freezing temps could cause catastrophic damage. Watch our How to Change Lower Unit Oil video to see how it’s done.
-
- Another maintenance task that applies to both two- and four-stroke outboards is thoroughly flushing the cooling system with fresh water, with the engine in the tilted-down position. But you don’t need to run antifreeze through the system afterwards. Outboards are designed to drain completely when tilted all the way down, so no water should remain behind.
-
- For four-stroke outboard engines changing the engine oil and filter is a must, as well as performing any other services that are factory-recommended prior to layup, such as changing fuel or air filters. Watch our How to Change Engine Oil on a Four Stroke Outboard Engine video to see how it’s done. Then, watch our How to Winterize a Four Stroke Outboard video for some other tips on storing four-strokes, in particular, through the winter months.
- If your outboard is going to sit for months on end, you’ll want to fog the engine with[…]
Continue to read this article.